|
Fordomatic to C4 Conversion (57 TBird): Jeff Hallam Why?
Required parts (simple list):
Costs (detailed list): |
|
|
|
|
|
|
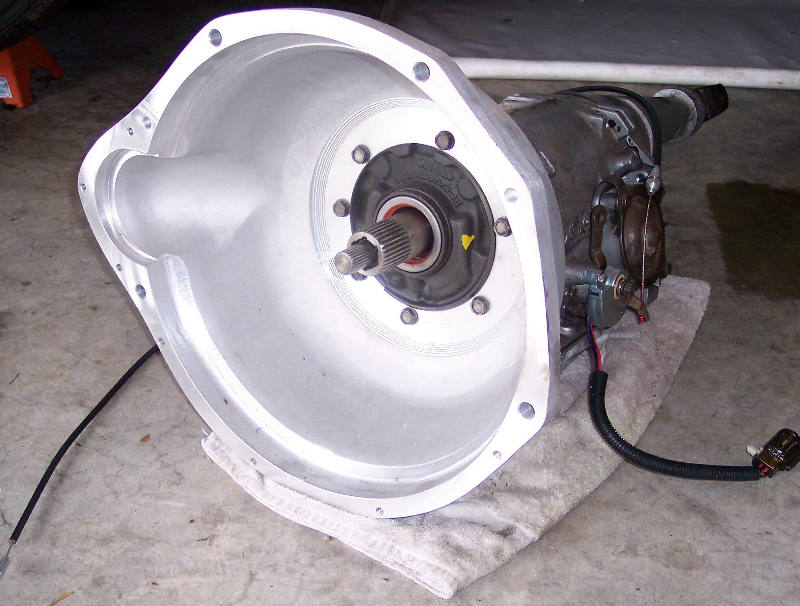
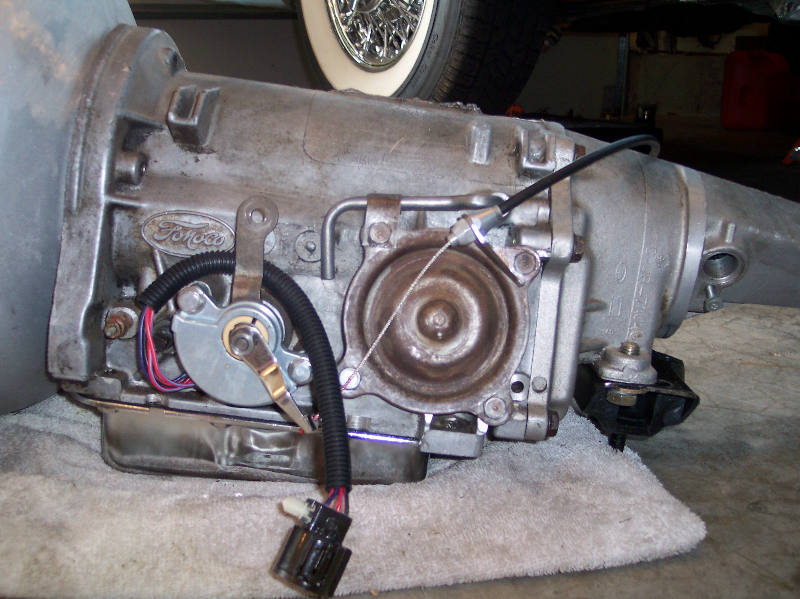
I started working on the new C4 transmission next. My C4 came from a 70 Mach 1 Mustang. First you remove the old bell housing and discard and install the new adapter per the instructions. |
|

|
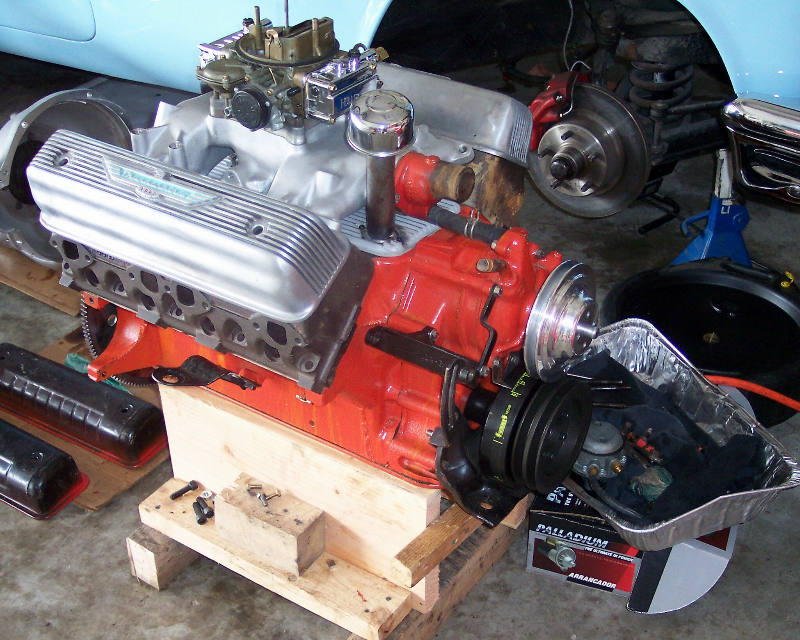
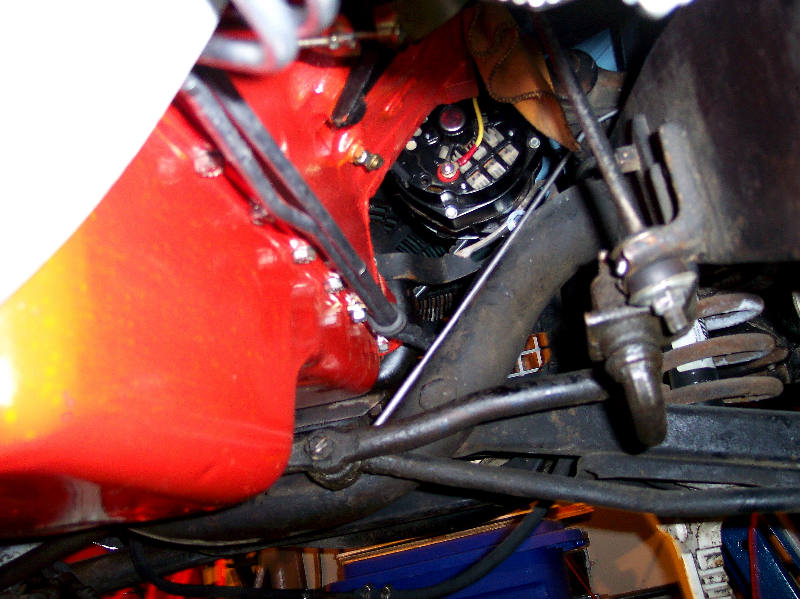
Next you go to work on the engine part. You replace the old flex plate with a modern flex plate with a starter ring gear. You will also replace the starter with a new one. You buy a starter for a 360 -390 ford engine and replace the bendix with a new one supplied with the adapter kit. I had built a wooden engine support out of a 2x12 and some assorted scrap boards. I also test fit the trans to the engine before attempting to put it in the car |
|

|
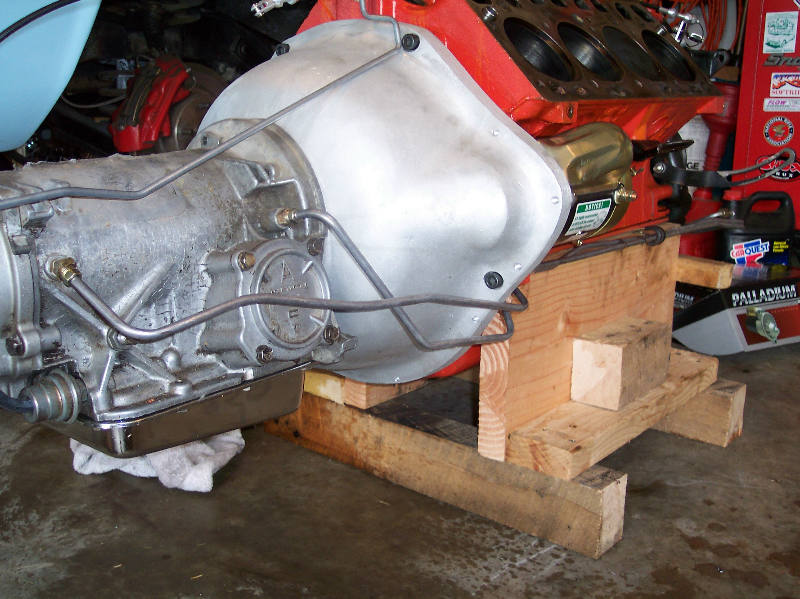
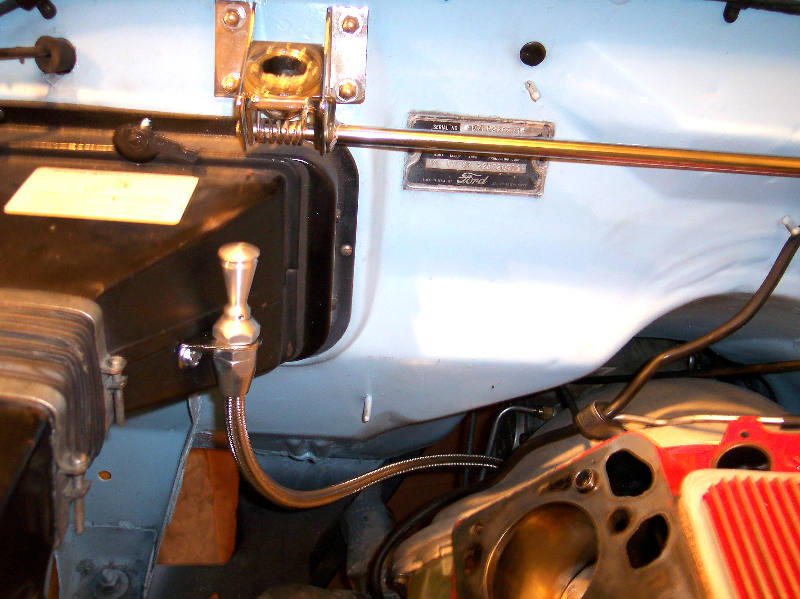
I used transmission cooler lines and a vacuum modulator line for a 70 Mustang and I chose to modernize with a trans mounted neutral safety switch that would allow the car to start in park. Wiring up the neutral safety switch and the backup lights was very straightforward. I spliced the wiring harness in the passenger compartment soldering and heat shrinking all connections. I then completely removed the original switch. Also shown below is the trans kick down cable and lever. |
|
|
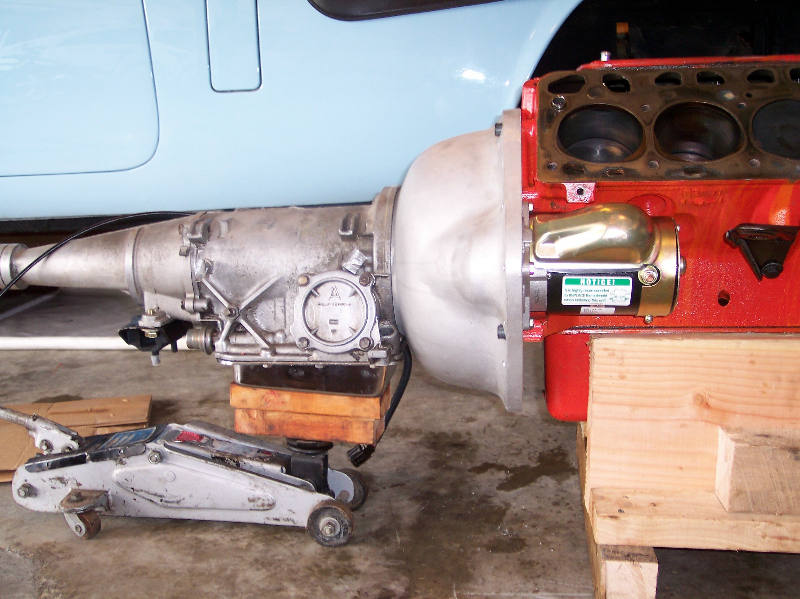
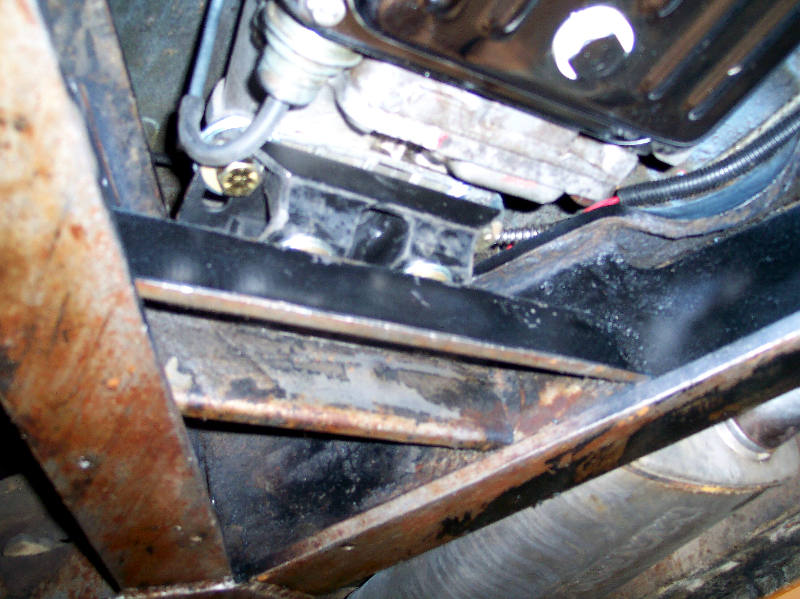
The torque converter requires a set of four lugs to be welded on for the adaptor setup. I chose to have Gene at Flat-O-Product set that up for me. Gene also provided the rear trans mount, the N/S switch new seals and gaskets. The test fit outside the car is important because clearances are very tight and its easier to solve minor issues. You also get an idea how everything goes in place without being in a confined space. For instance I found that you have to line the converter lugs up with the flex plate holes before the bell housing will mate with the engine block. Usually you have enough clearance to move the converter back and forth but not with this conversion. If you have enough space in your garage or shop and want to remove the hood you can install the engine/trans combination. I was working in my own garage and hadnt taken the hood off so I chose to put the transmission in first. This is the point where I had to modify the rear mount. The bolt studs in my rear mount didnt line up with the original mount holes in the cross member. I had to drill new holes and shim the mount for driveshaft clearance. |
|
|
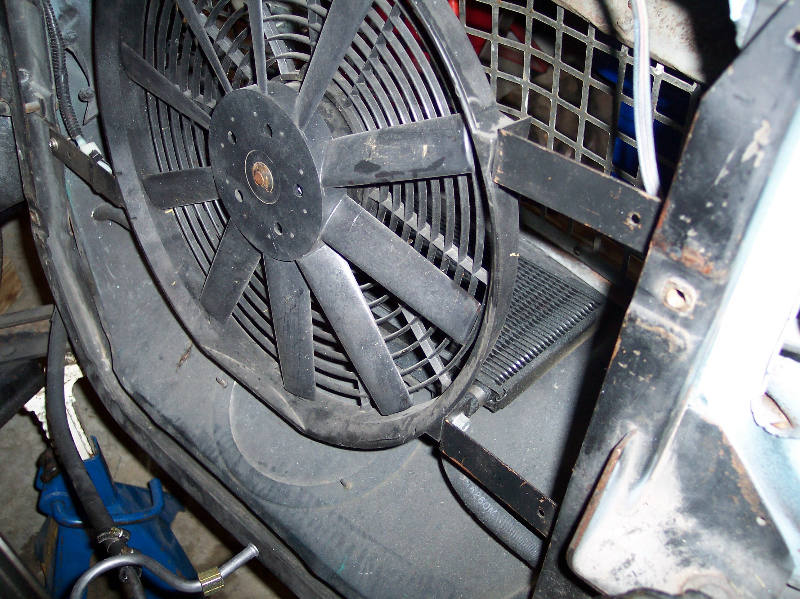
Once I had the rear mount secure I lowered the engine in and bolted the two components together. Then the fun starts because now the front engine mounts dont want to line up. After a lot of maneuvering I finally got all the mounts secured. The drive shaft was the next step. If at all possible get the original output yoke for the donor C4. I did and although the Fordomatic yoke would work, the C4 yoke was different in that it had a 3-inch long un-splined section that went deep in the transmission. The u-joints are the same and fit perfect. I installed the C4 yoke on my driveshaft then took measurements. I had to lengthen the shaft by 3 inches, which required a new tube and balancing. You have to have a drive line professional do this. While the driveshaft was at the machine shop I started on the final steps. I installed an auxiliary trans cooler in front of the radiator (and my electric fan) so I had to run the lines so they go through that cooler first then into the radiator cooler. |
|
|
|
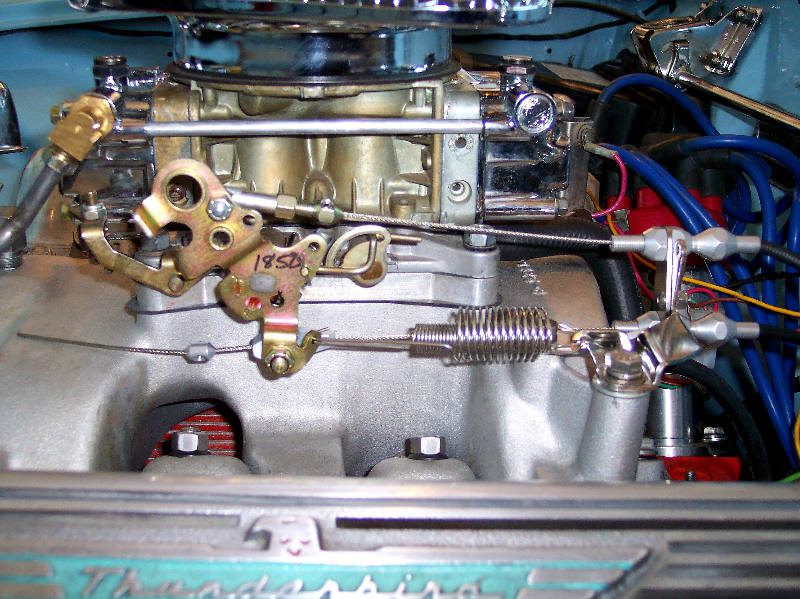
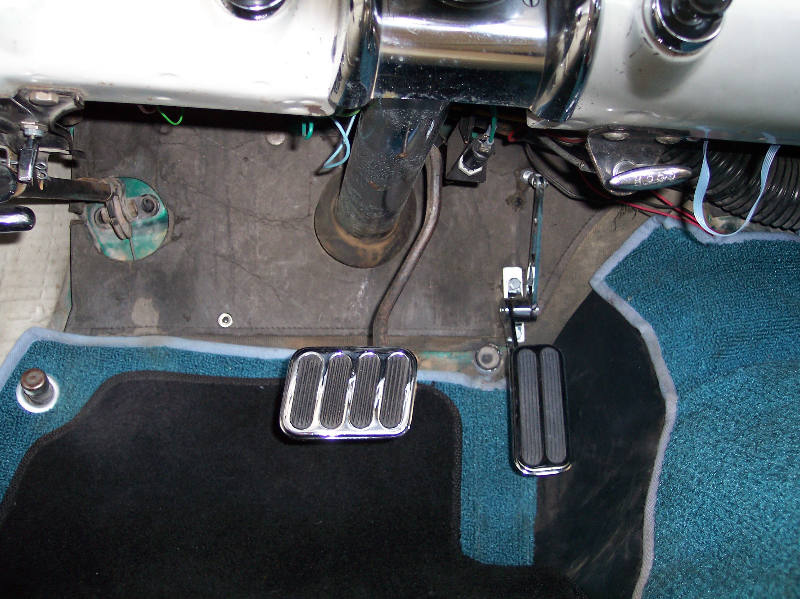
The next steps are my personal solution to the kick down cable issue. I chose to completely remove the original accelerator assembly because the kick down rod would not work with the C4. I installed a Lokar accelerator pedal (plus the matching brake pedal), throttle cable, and kick down cable. The throttle assembly also required that I replace the original primary throttle shaft in the carburetor. |
|
|
If you need to remain as original as possible I am sure there are other solutions. The conversion also requires a manifold vacuum port in the intake for the vacuum modulator valve. This valve controls the shifting and I merely put a brass nipple in an existing port. The original shifter worked perfect by simply shortening the shift rod. I cannot manually shift to low but this isnt a concern for me. I had anticipated that the speedometer cable would have required modification but on a 57 it is compatible to the C4. I believe a 55 or 56 would require an adapter. Finally I slapped the driveshaft back in. Fired it up and checked for leaks. Since this article just deals with the trans swap I wont go into hooking the engine back up. Difficulties along the way: By far the biggest difficulty was lining up all the mounting points. The rear mount was modified to go as rearward as possible on the transmission requiring me to drill new holes. If I had the body off I would make a new mount point and weld it in. I was changing cylinder heads while I had the car apart. Having the heads off and out of the way made my installation much easier. Was it worth it: Everyone will ask was it worth it? Absolutely!... The change in performance and drivability is fantastic. The car drives much differently but better. I know you can drive a Fordomatic as a three speed by manually shifting it but its much better to just put it in drive and go . My total cash outlay was around $1500 for the conversion alone and I did all the labor myself. You would probably look at around 20 hours labor in a professional shop. When I started thinking about this swap I couldnt find any information about what problems one would run into. For those interested in this swap please feel free to email me with questions or comments: jhallam151@msn.com. |